Prerequisites
- A TestDino account
- A Playwright project with tests (or the TestDino Example Repository )
- Node.js
>= 18and@playwright/test>= 1.52 - A project API key from Generate API Keys (agents need
TESTDINO_TOKENset)
Set up with an AI agent
Paste this into Cursor, Claude Code, or another coding assistant:Install @testdino/playwright and stream the first test run.
Set up your first project
Follow these steps if you prefer to configure TestDino yourself.1
Create a project
After signup and onboarding, click New Project.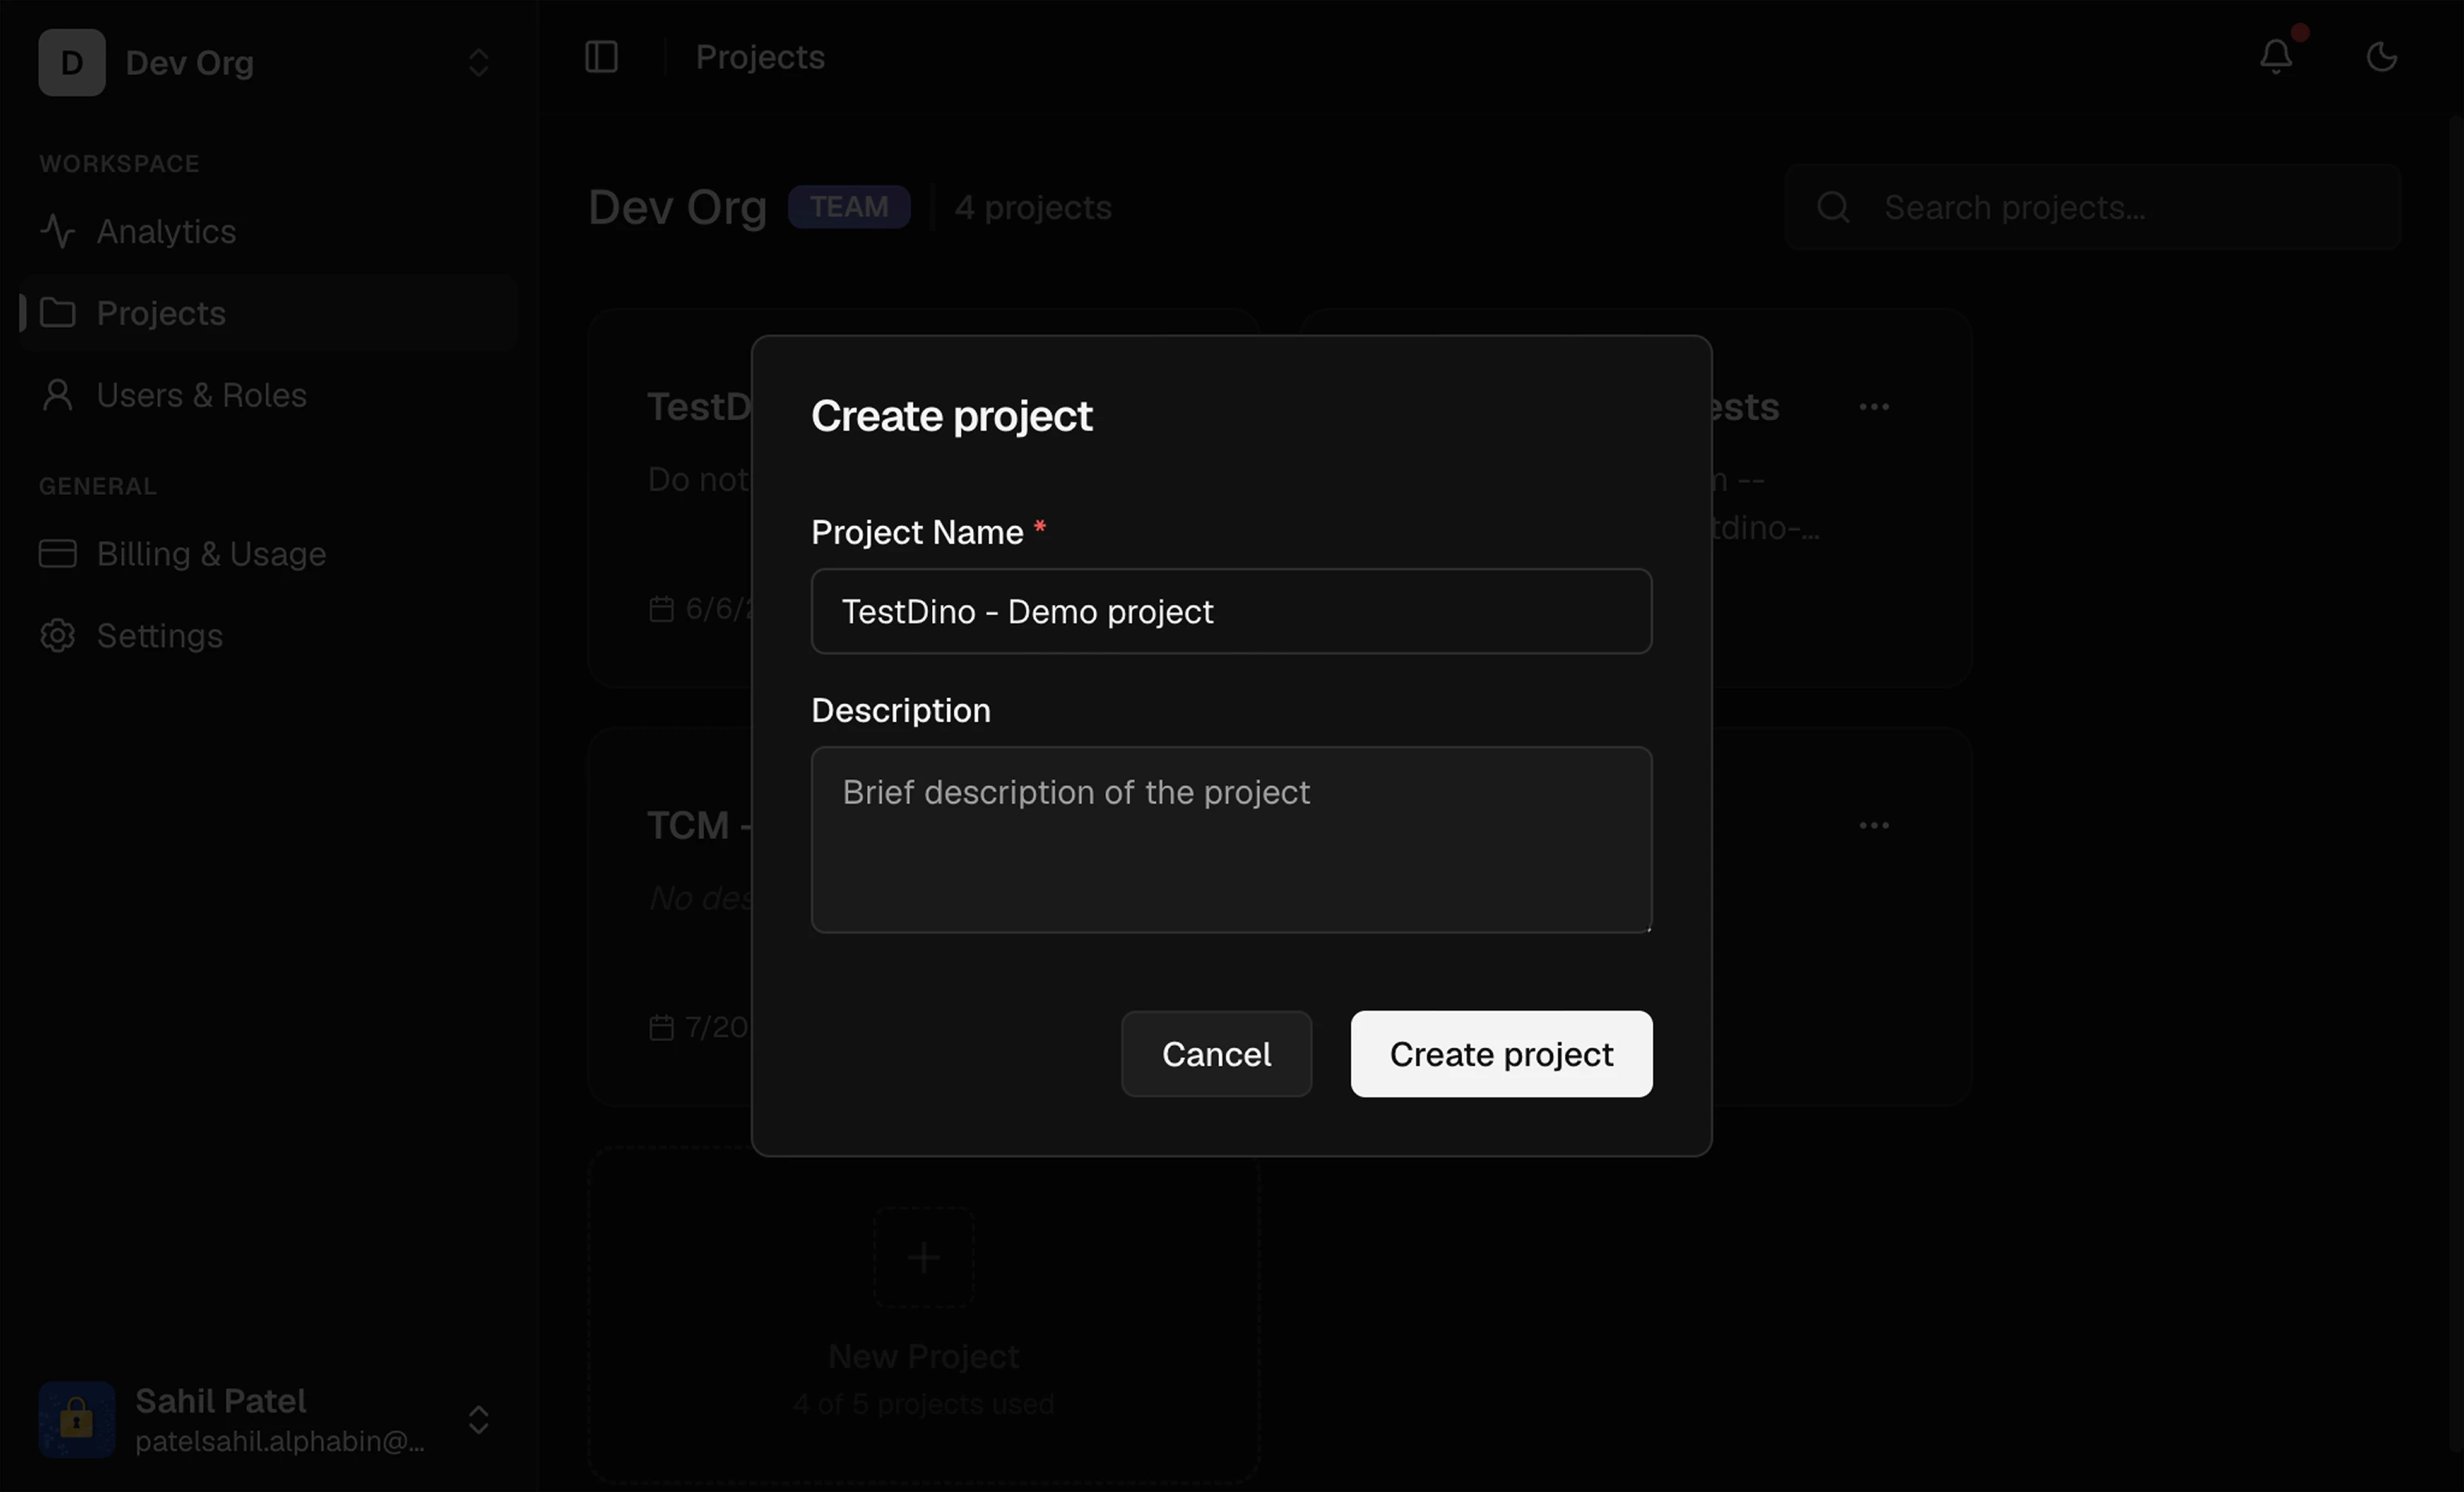
2
Get your API key
Go to Project Settings → API Keys and create a new key. Copy it once; it is shown only at creation. Full key options are in Generate API Keys.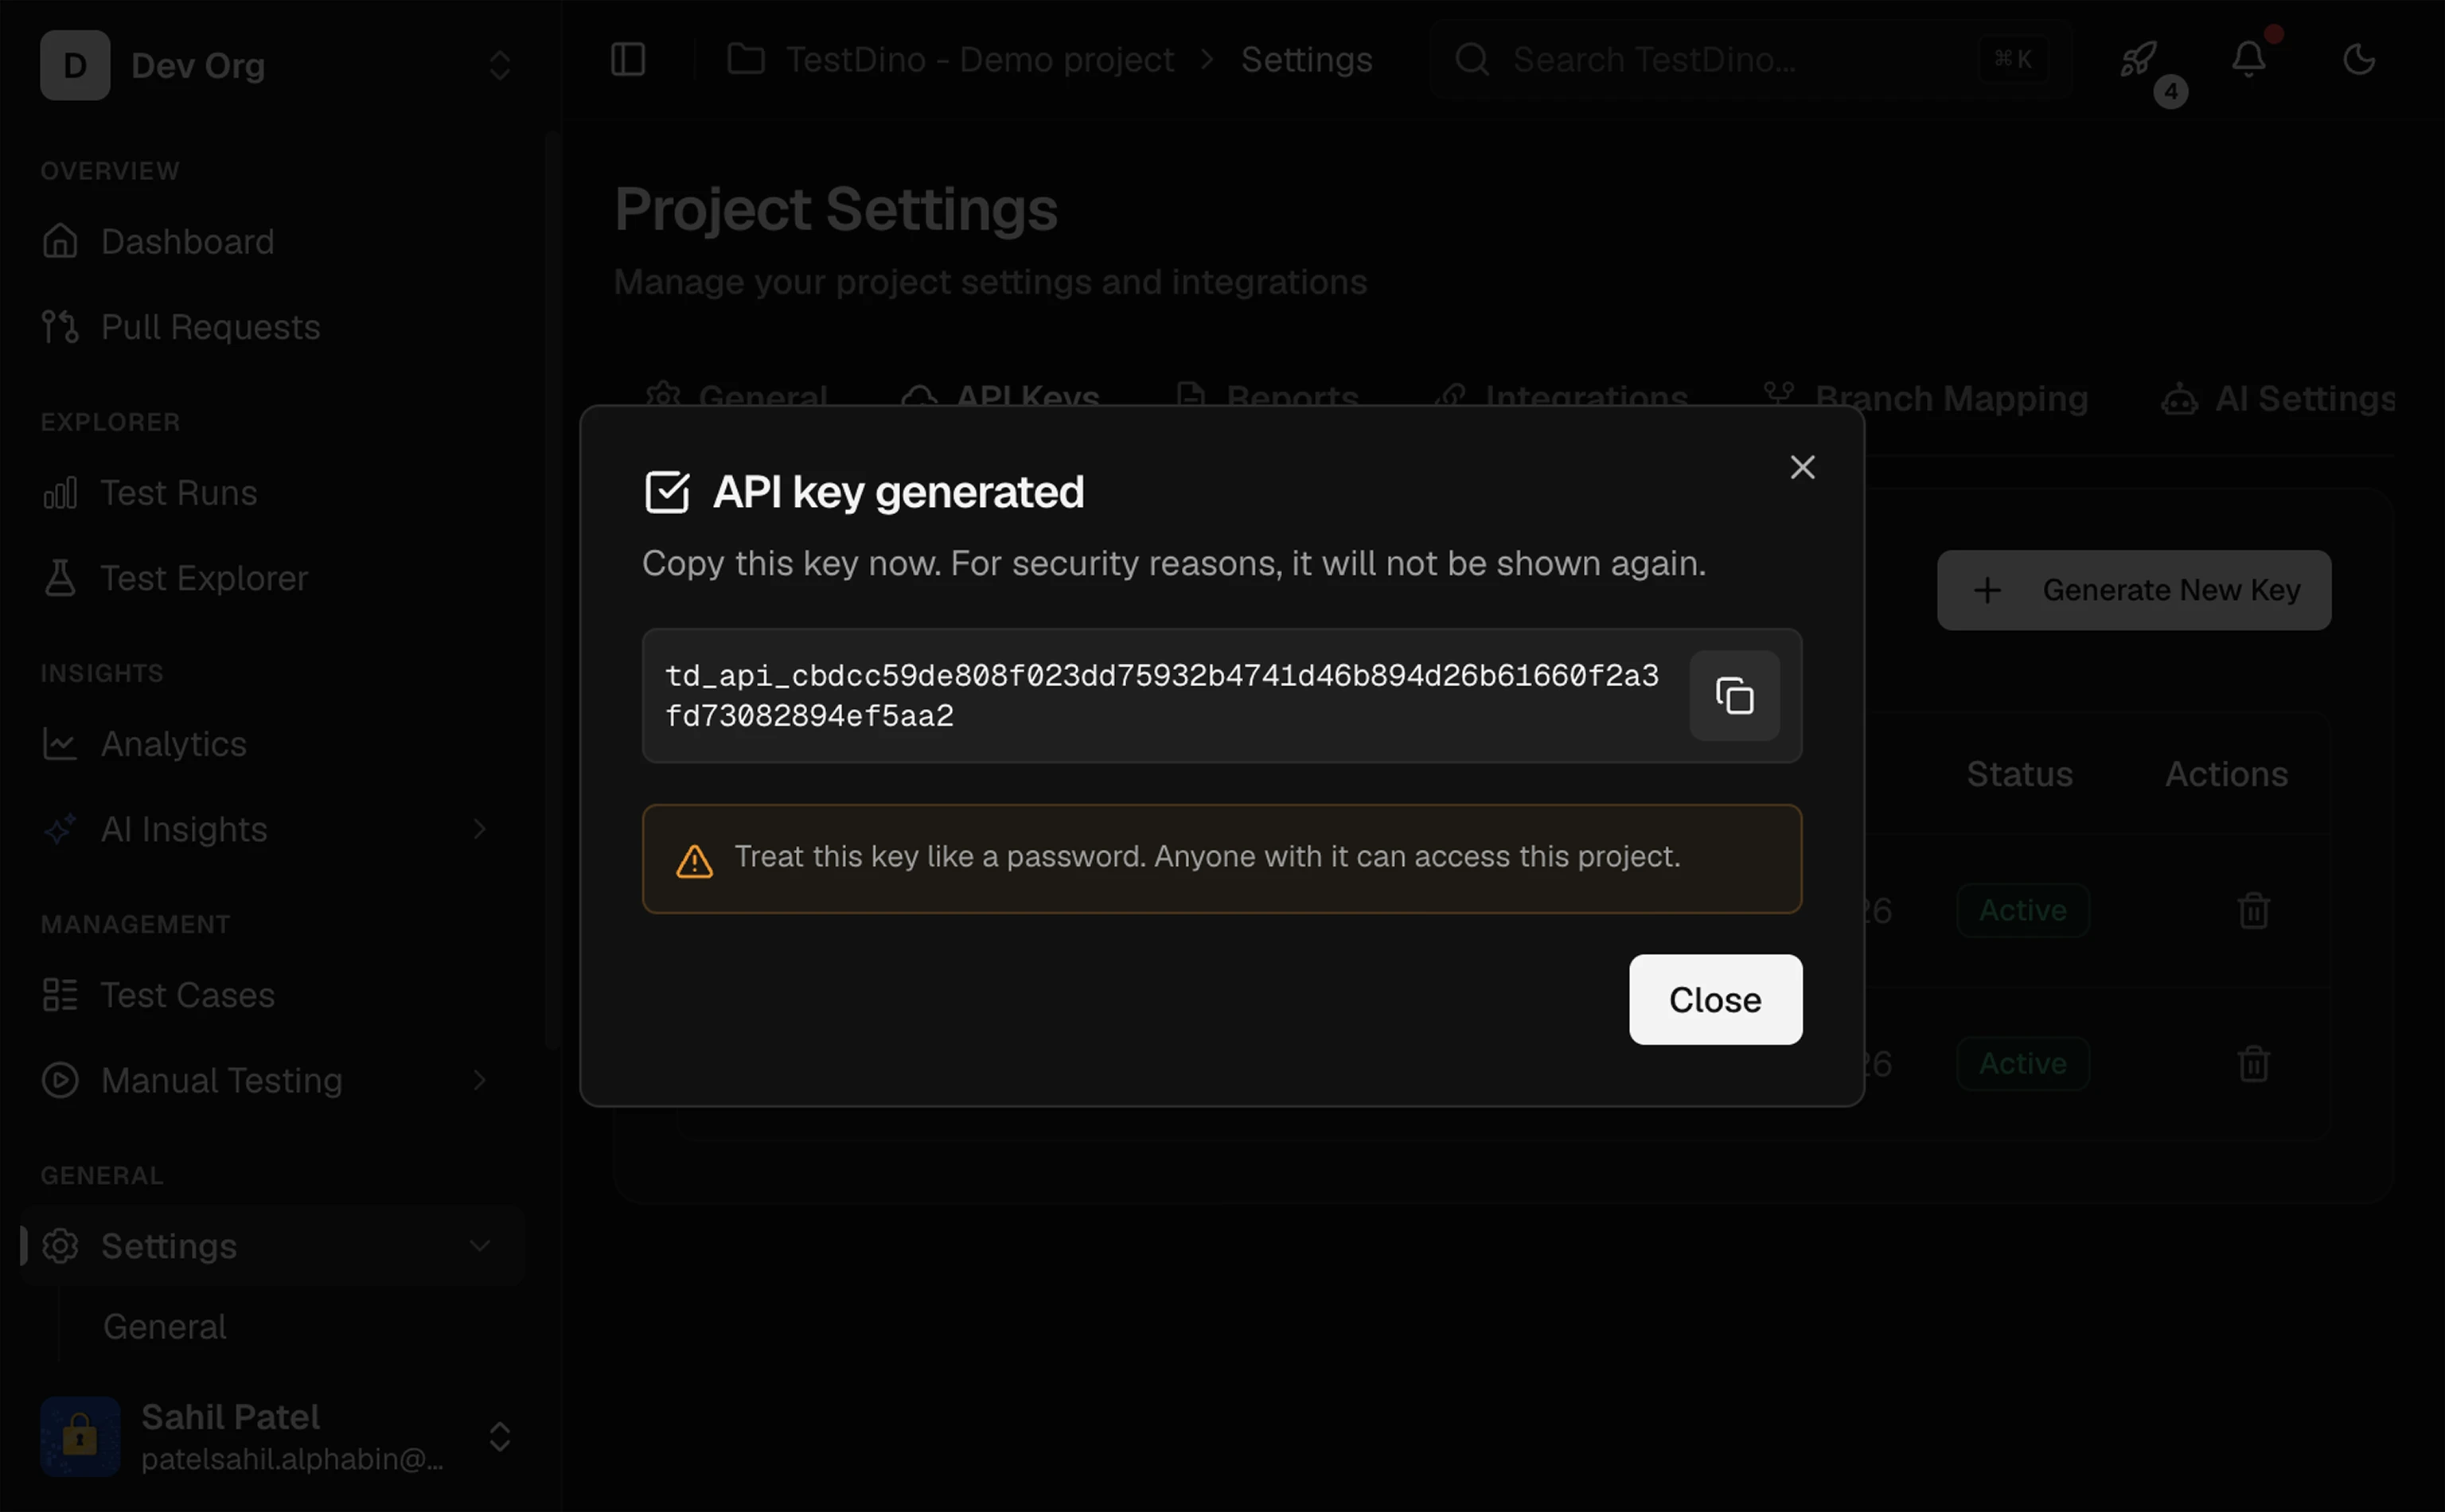
3
Export your API key
Store the key in
TESTDINO_TOKEN:Never hardcode the key in source. In CI, store it as a secret named
TESTDINO_TOKEN.4
Install the package
5
Add TestDino to your Playwright config
Add
@testdino/playwright to the reporter array. Keep any existing reporters you already use.playwright.config.ts
Prefer not to edit your config?
Prefer not to edit your config?
Run Playwright flags pass through, for example
tdpw test instead of npx playwright test:npx tdpw test --project=chromium --shard=1/3.6
Run your tests
7
Verify in TestDino
Open Test Runs. Your run appears at the top with pass/fail counts, duration, and links to traces and screenshots.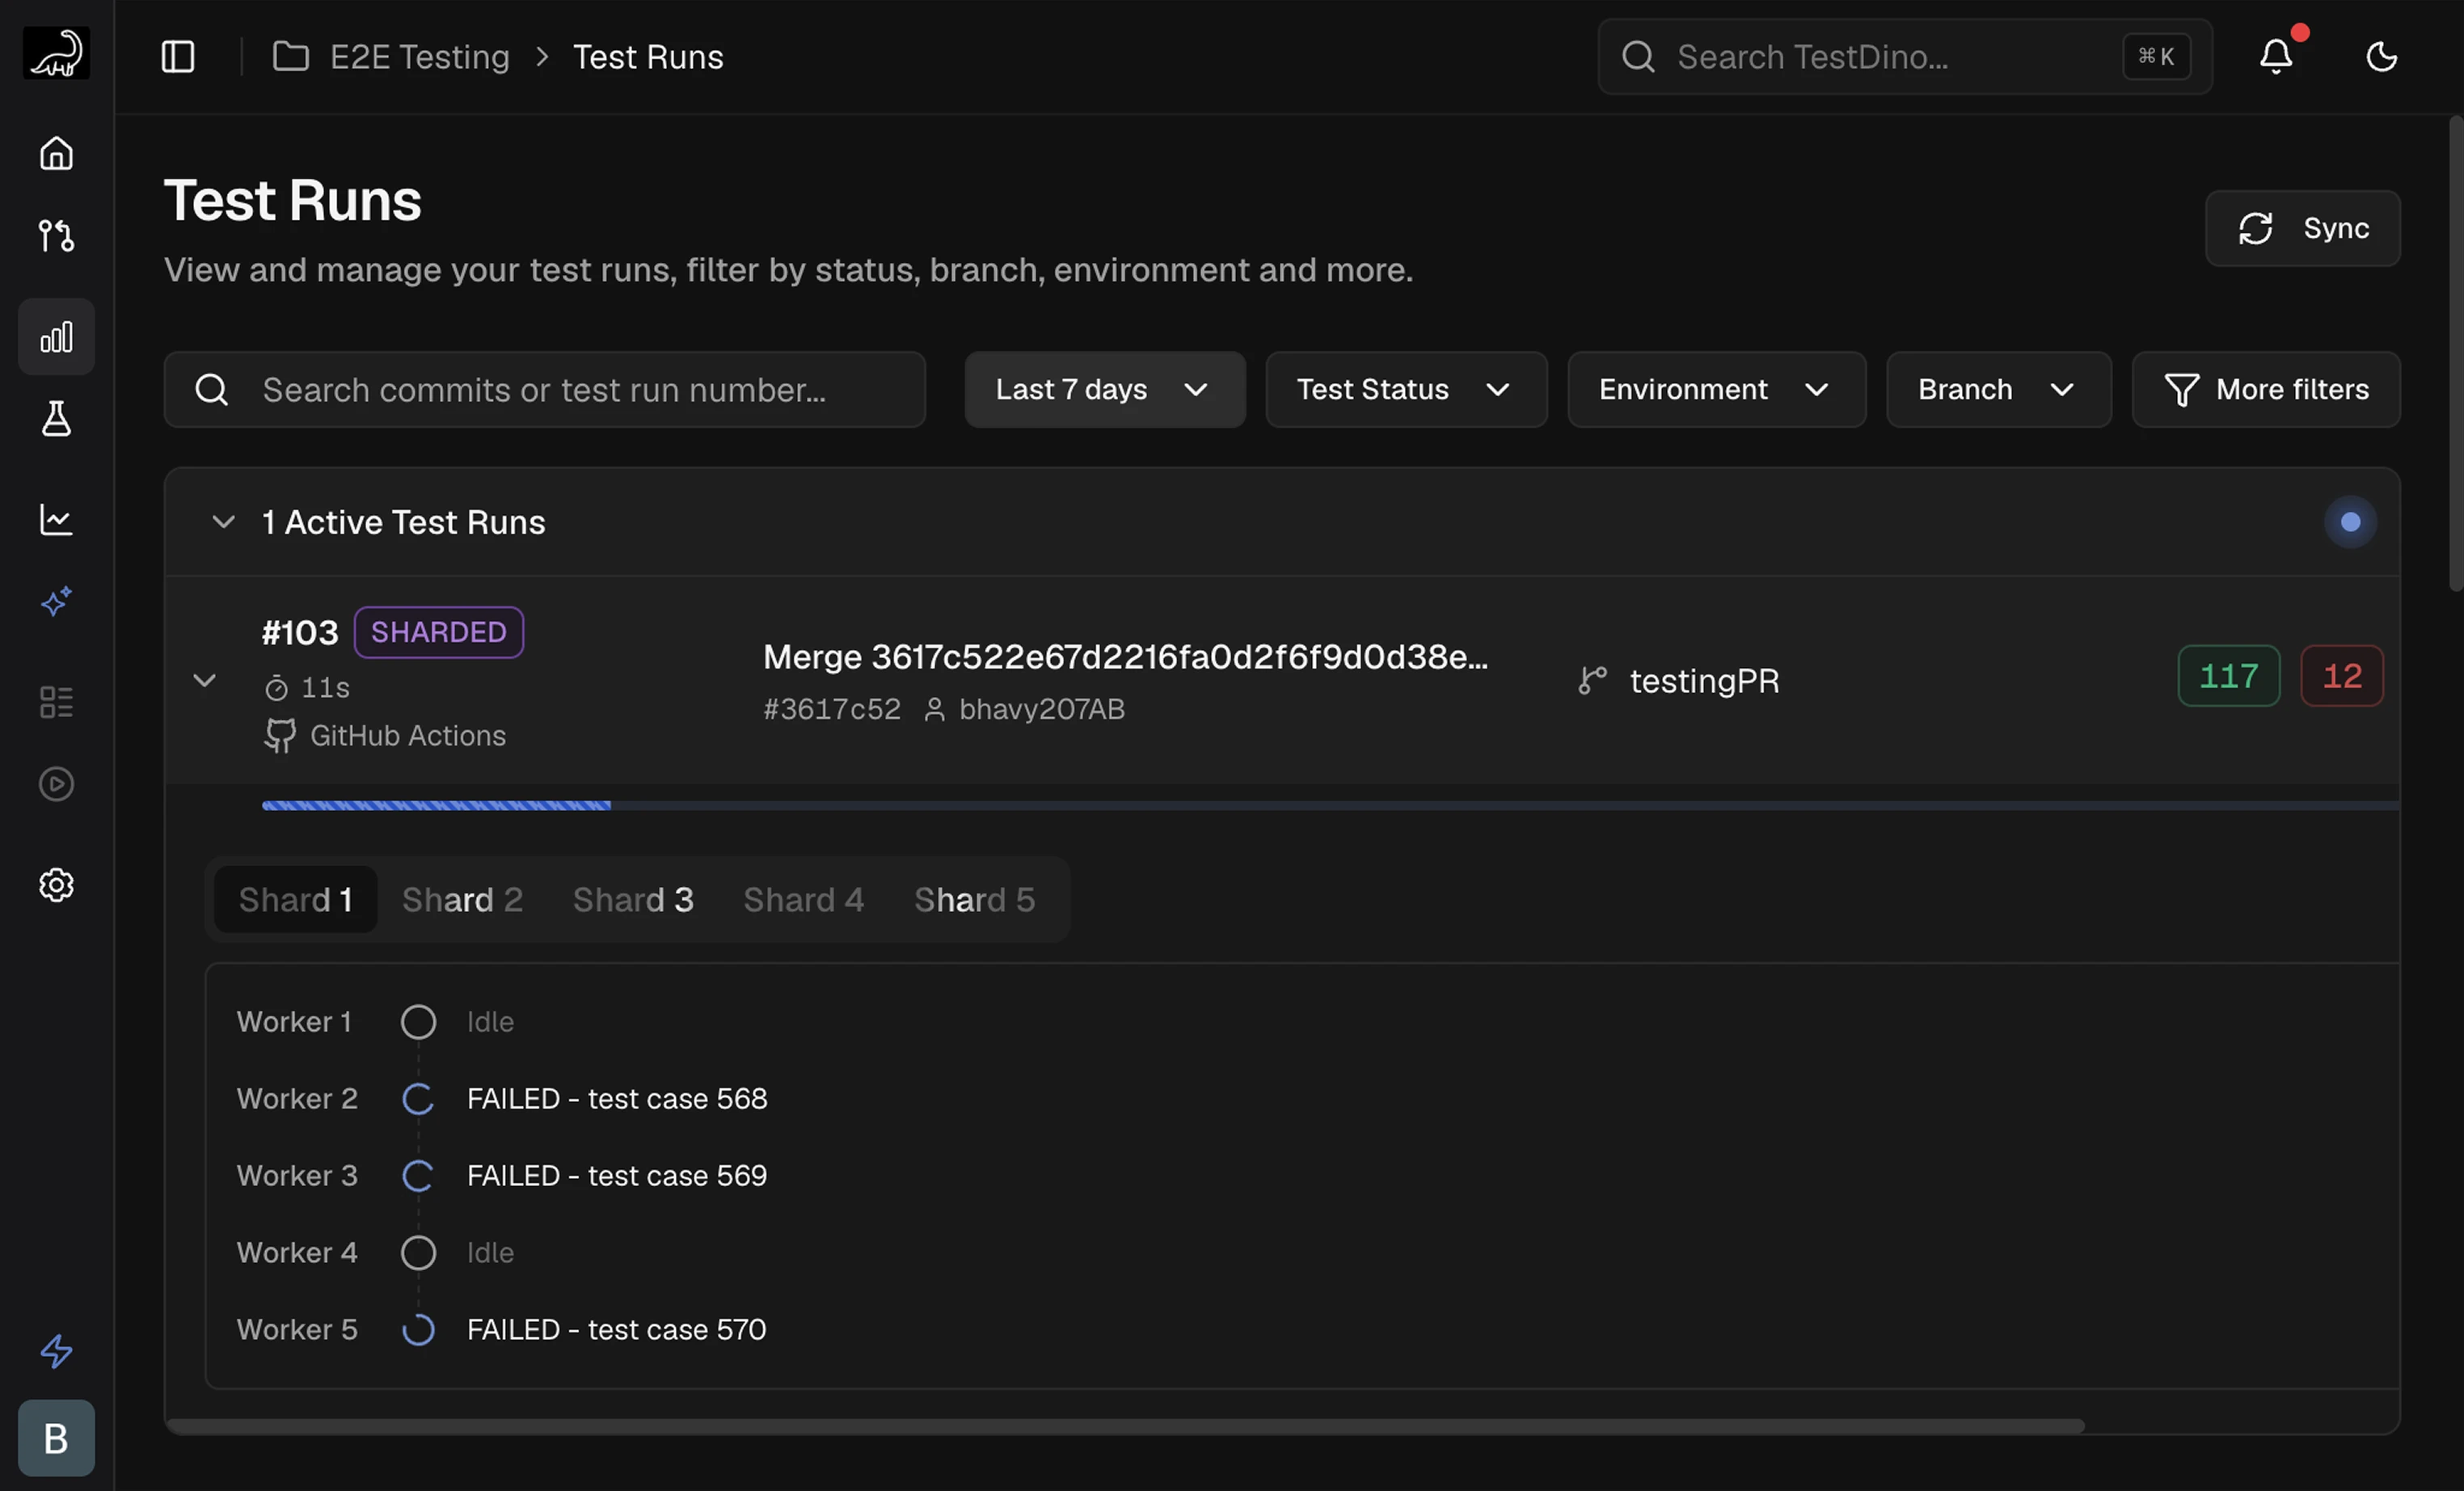
No run showing up? Confirm
TESTDINO_TOKEN is set and @testdino/playwright is in your reporter array. See FAQs and Troubleshooting.CI Setup
Stream results from GitHub, GitLab, Azure DevOps, and more
Generate API Keys
Create and store project API keys
TestDino MCP
Query test data from an AI assistant
Integrations
Slack, Jira, GitHub, and more