

General

Project names accept letters, numbers, spaces, dots, underscores, and hyphens, up to 100 characters. The same rule applies wherever you name a project, including the New Project dialog. Organization names allow a wider set, listed in Organizations.
Owners and Administrators can delete a project. Deletion is immediate, with no restore window (unlike organization deletion, which has a 7-day window). The project name and plan slot are free to reuse right away.
API Keys
 Create project credentials for local runs and CI. Pick Ingestion for result uploads or Pipeline for Azure DevOps and TeamCity plugins. Expiration options: 30, 60, 90, or 180 days.
Revoke or delete a key to invalidate it immediately. Create a replacement, update CI, then delete the old key when a key expires or is exposed.
Full create and CI secret steps: Generate API Keys.
Create project credentials for local runs and CI. Pick Ingestion for result uploads or Pipeline for Azure DevOps and TeamCity plugins. Expiration options: 30, 60, 90, or 180 days.
Revoke or delete a key to invalidate it immediately. Create a replacement, update CI, then delete the old key when a key expires or is exposed.
Full create and CI secret steps: Generate API Keys.
Automated Reports
Schedule PDF summaries of test run data and email them to recipients.- Click Create Automated Report
- Enter a name, recipients, schedule, and optional tag or environment filters
- Create the report, then use Enable/Disable to control whether it runs
Step-by-step content and preview: Automated Reports.
AI Features
 Enable AI Insights is the master switch. With it on, toggle each feature independently. All features are on by default. Changes apply from the next test run. Existing insights on past runs stay visible. Owner and Administrator only.
Disabling AI does not stop streaming, reporting, or non-AI features. See AI Overview.
Status Badges
Embed live SVG badges in GitHub or GitLab READMEs from Integrations → Repository → Status Badge.- GitHub
- GitLab


Integrations
Connect CI/CD, issue trackers, Slack, webhooks, and editor tools from this tab. Install steps and permissions live under Integrations.
Map branch environments to targets with Branch Mapping when a delivery target depends on where the run happened. For the Slack App, a notification lists its own channels and users under Where it goes, and an environment limit narrows which runs it covers rather than switching the destination. A run outside that limit sends nothing, with no fallback channel.
Find an integration
The tab is a grid of tiles with a filter rail beside it. The rail lists All plus the 5 categories above, each with a count, a Search box that matches on name and description, and a connection-state filter with Any state, Connected, and Not connected. A summary card above the rail shows the count as, for example,2 / 8 over integrations connected, counting only the providers your plan includes.
Each tile names the provider, states its scope (Project when one connection serves the whole project, Personal when each member authenticates separately), and shows its state:
The whole tile is a button, and its footer names what happens next: Set up when not connected, Configure when connected, Upgrade when your plan does not include it. Clicking it opens a side panel with What it does, a Scope row, and the connect step for that provider. A connected provider shows its settings in the panel instead, with Disconnect in the footer. A provider your plan does not include shows Upgrade to Pro or Upgrade to Team there. Every panel carries a Docs link.
The open panel is named in the address bar as
?integration=<id>, for example ?integration=jira, so a link to it opens the panel directly and it survives a refresh.
Integration plan requirements
Each provider has its own minimum plan, so a plan can include one issue tracker and not another.
Plan comparison and pricing: Billing & Usage.
Branch Mapping
Map repository branches to environments so runs show under the right environment across the product.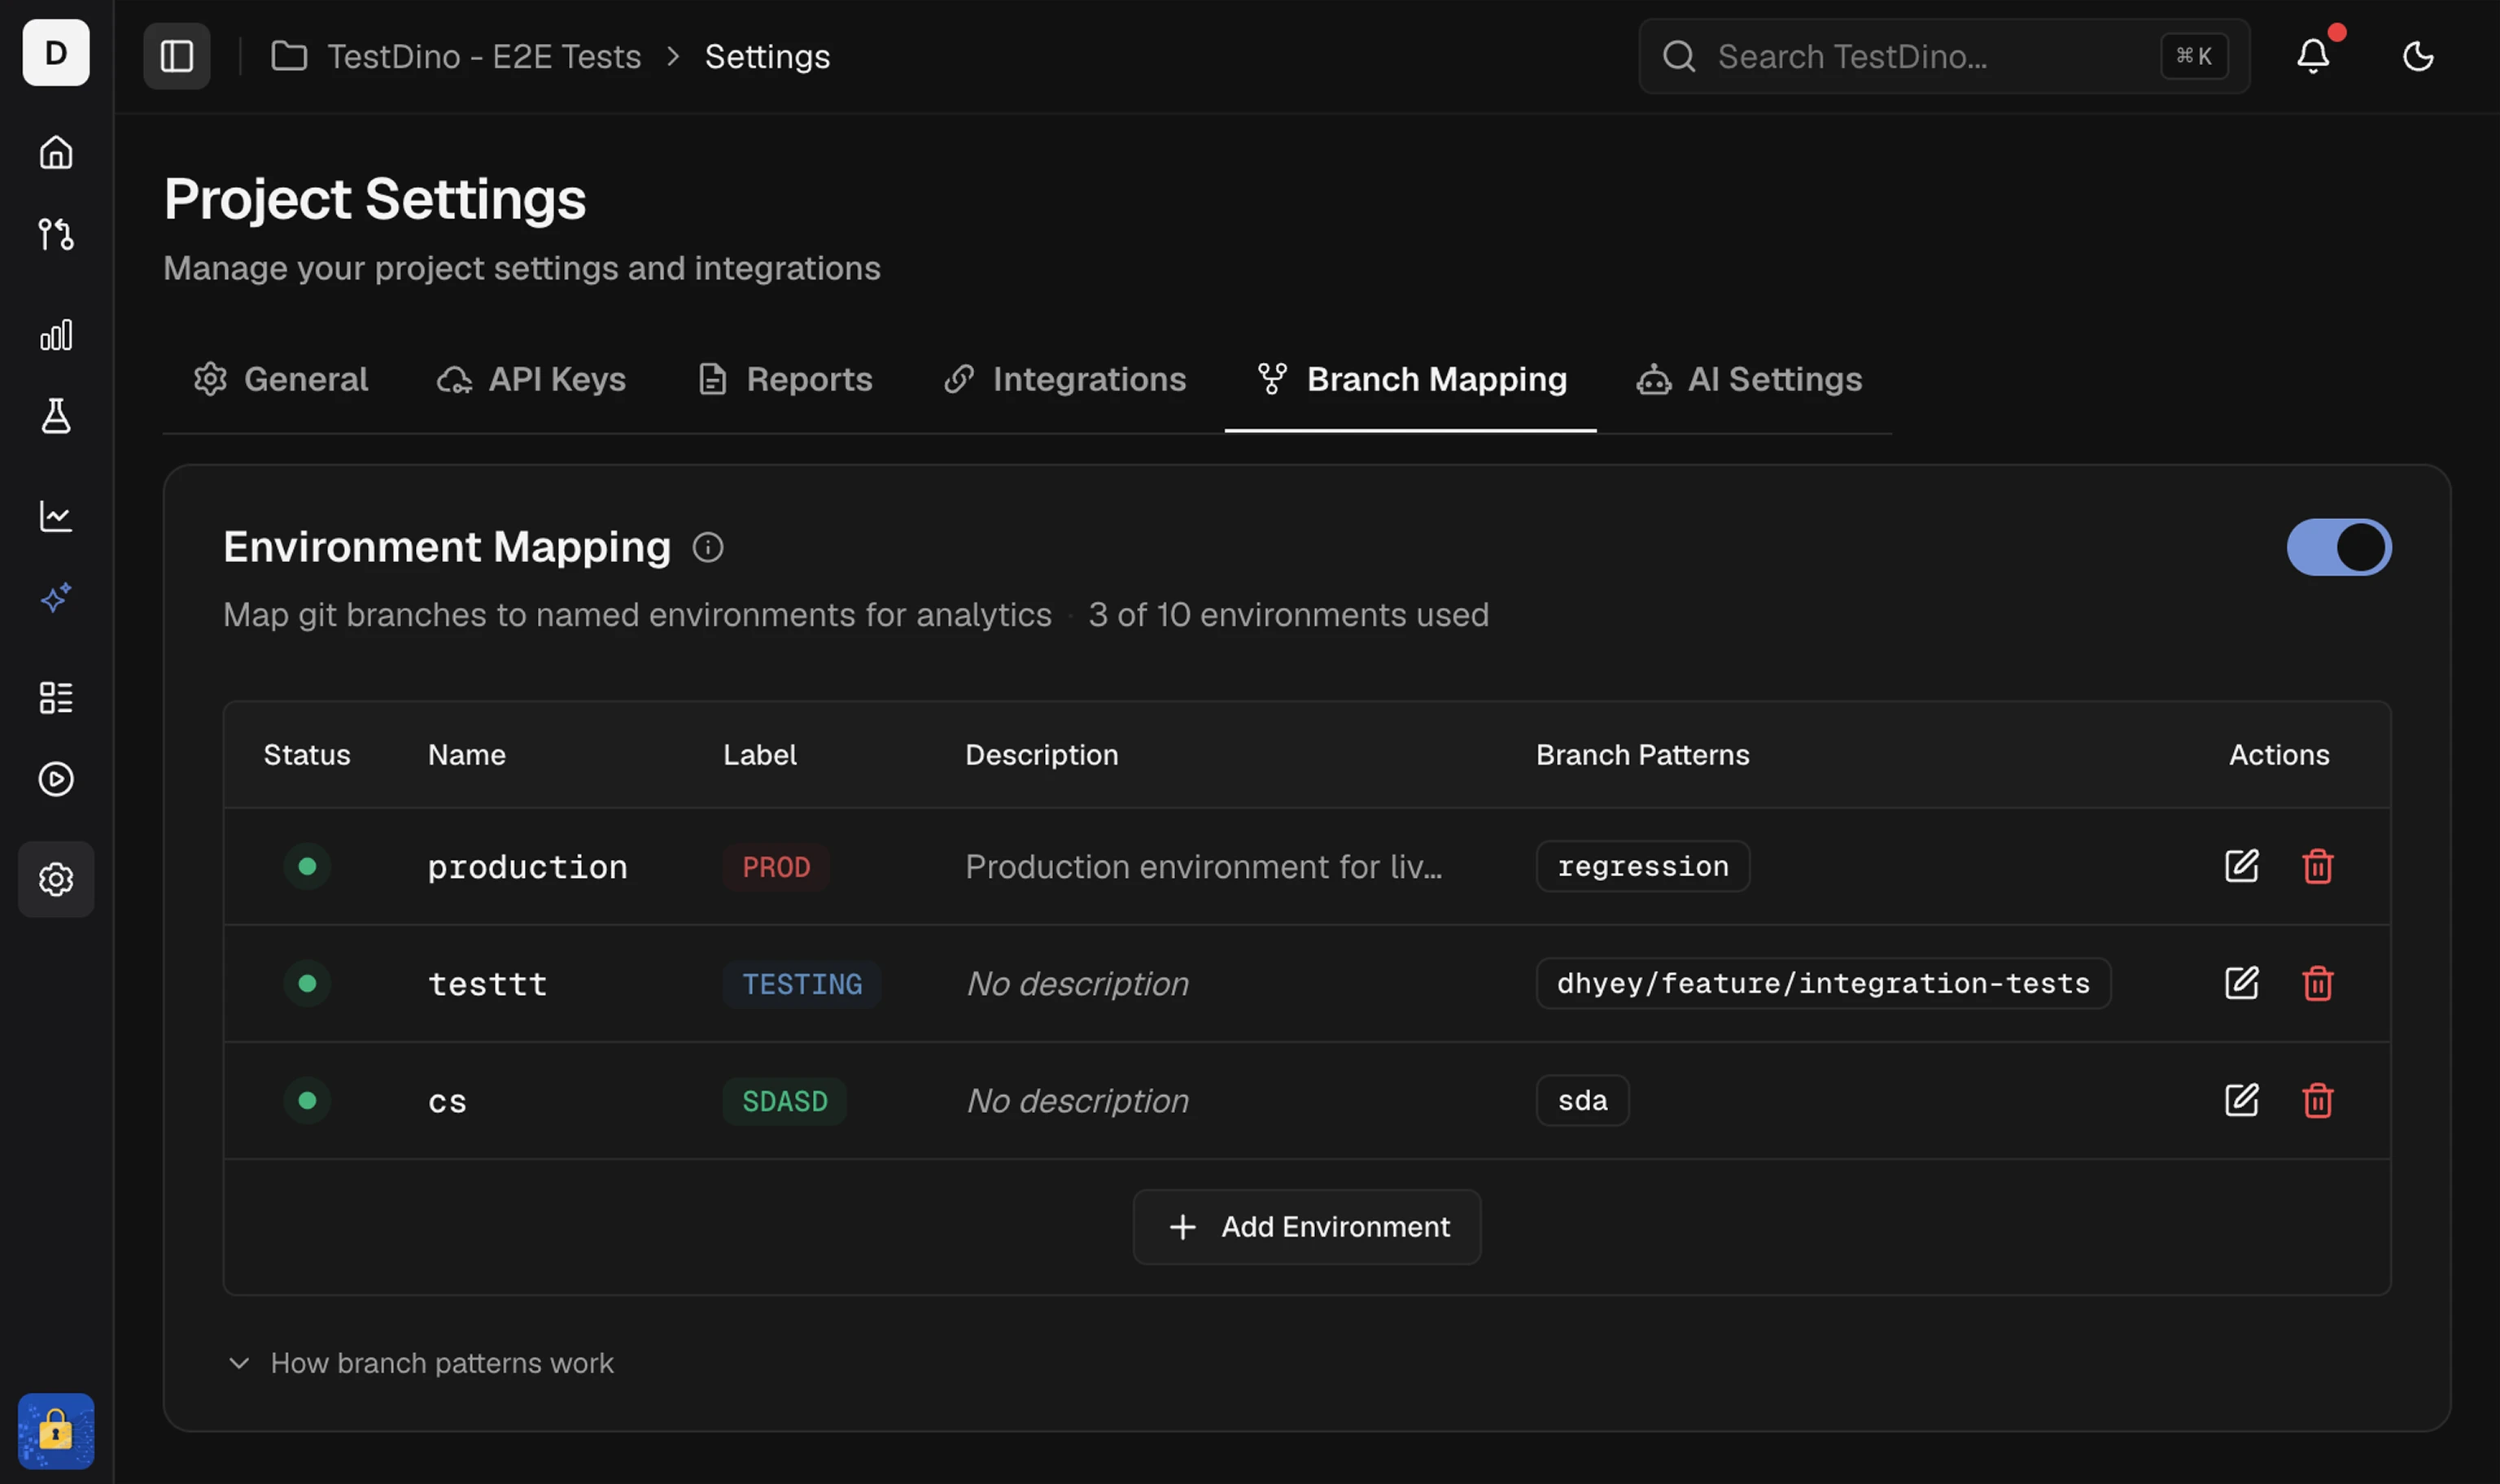
- Enter Name and a short Label
- Optionally set a description and color
- Add Branch patterns: exact (
main) or pattern/regex (^feature/) - Save. Changes can take up to 2 minutes to apply
Generate API Keys
Create and store project API keys
Environment Mapping
Branch patterns and regex reference
Integrations
Connect CI, Slack, and issue trackers
AI Overview
How AI features classify and group failures