

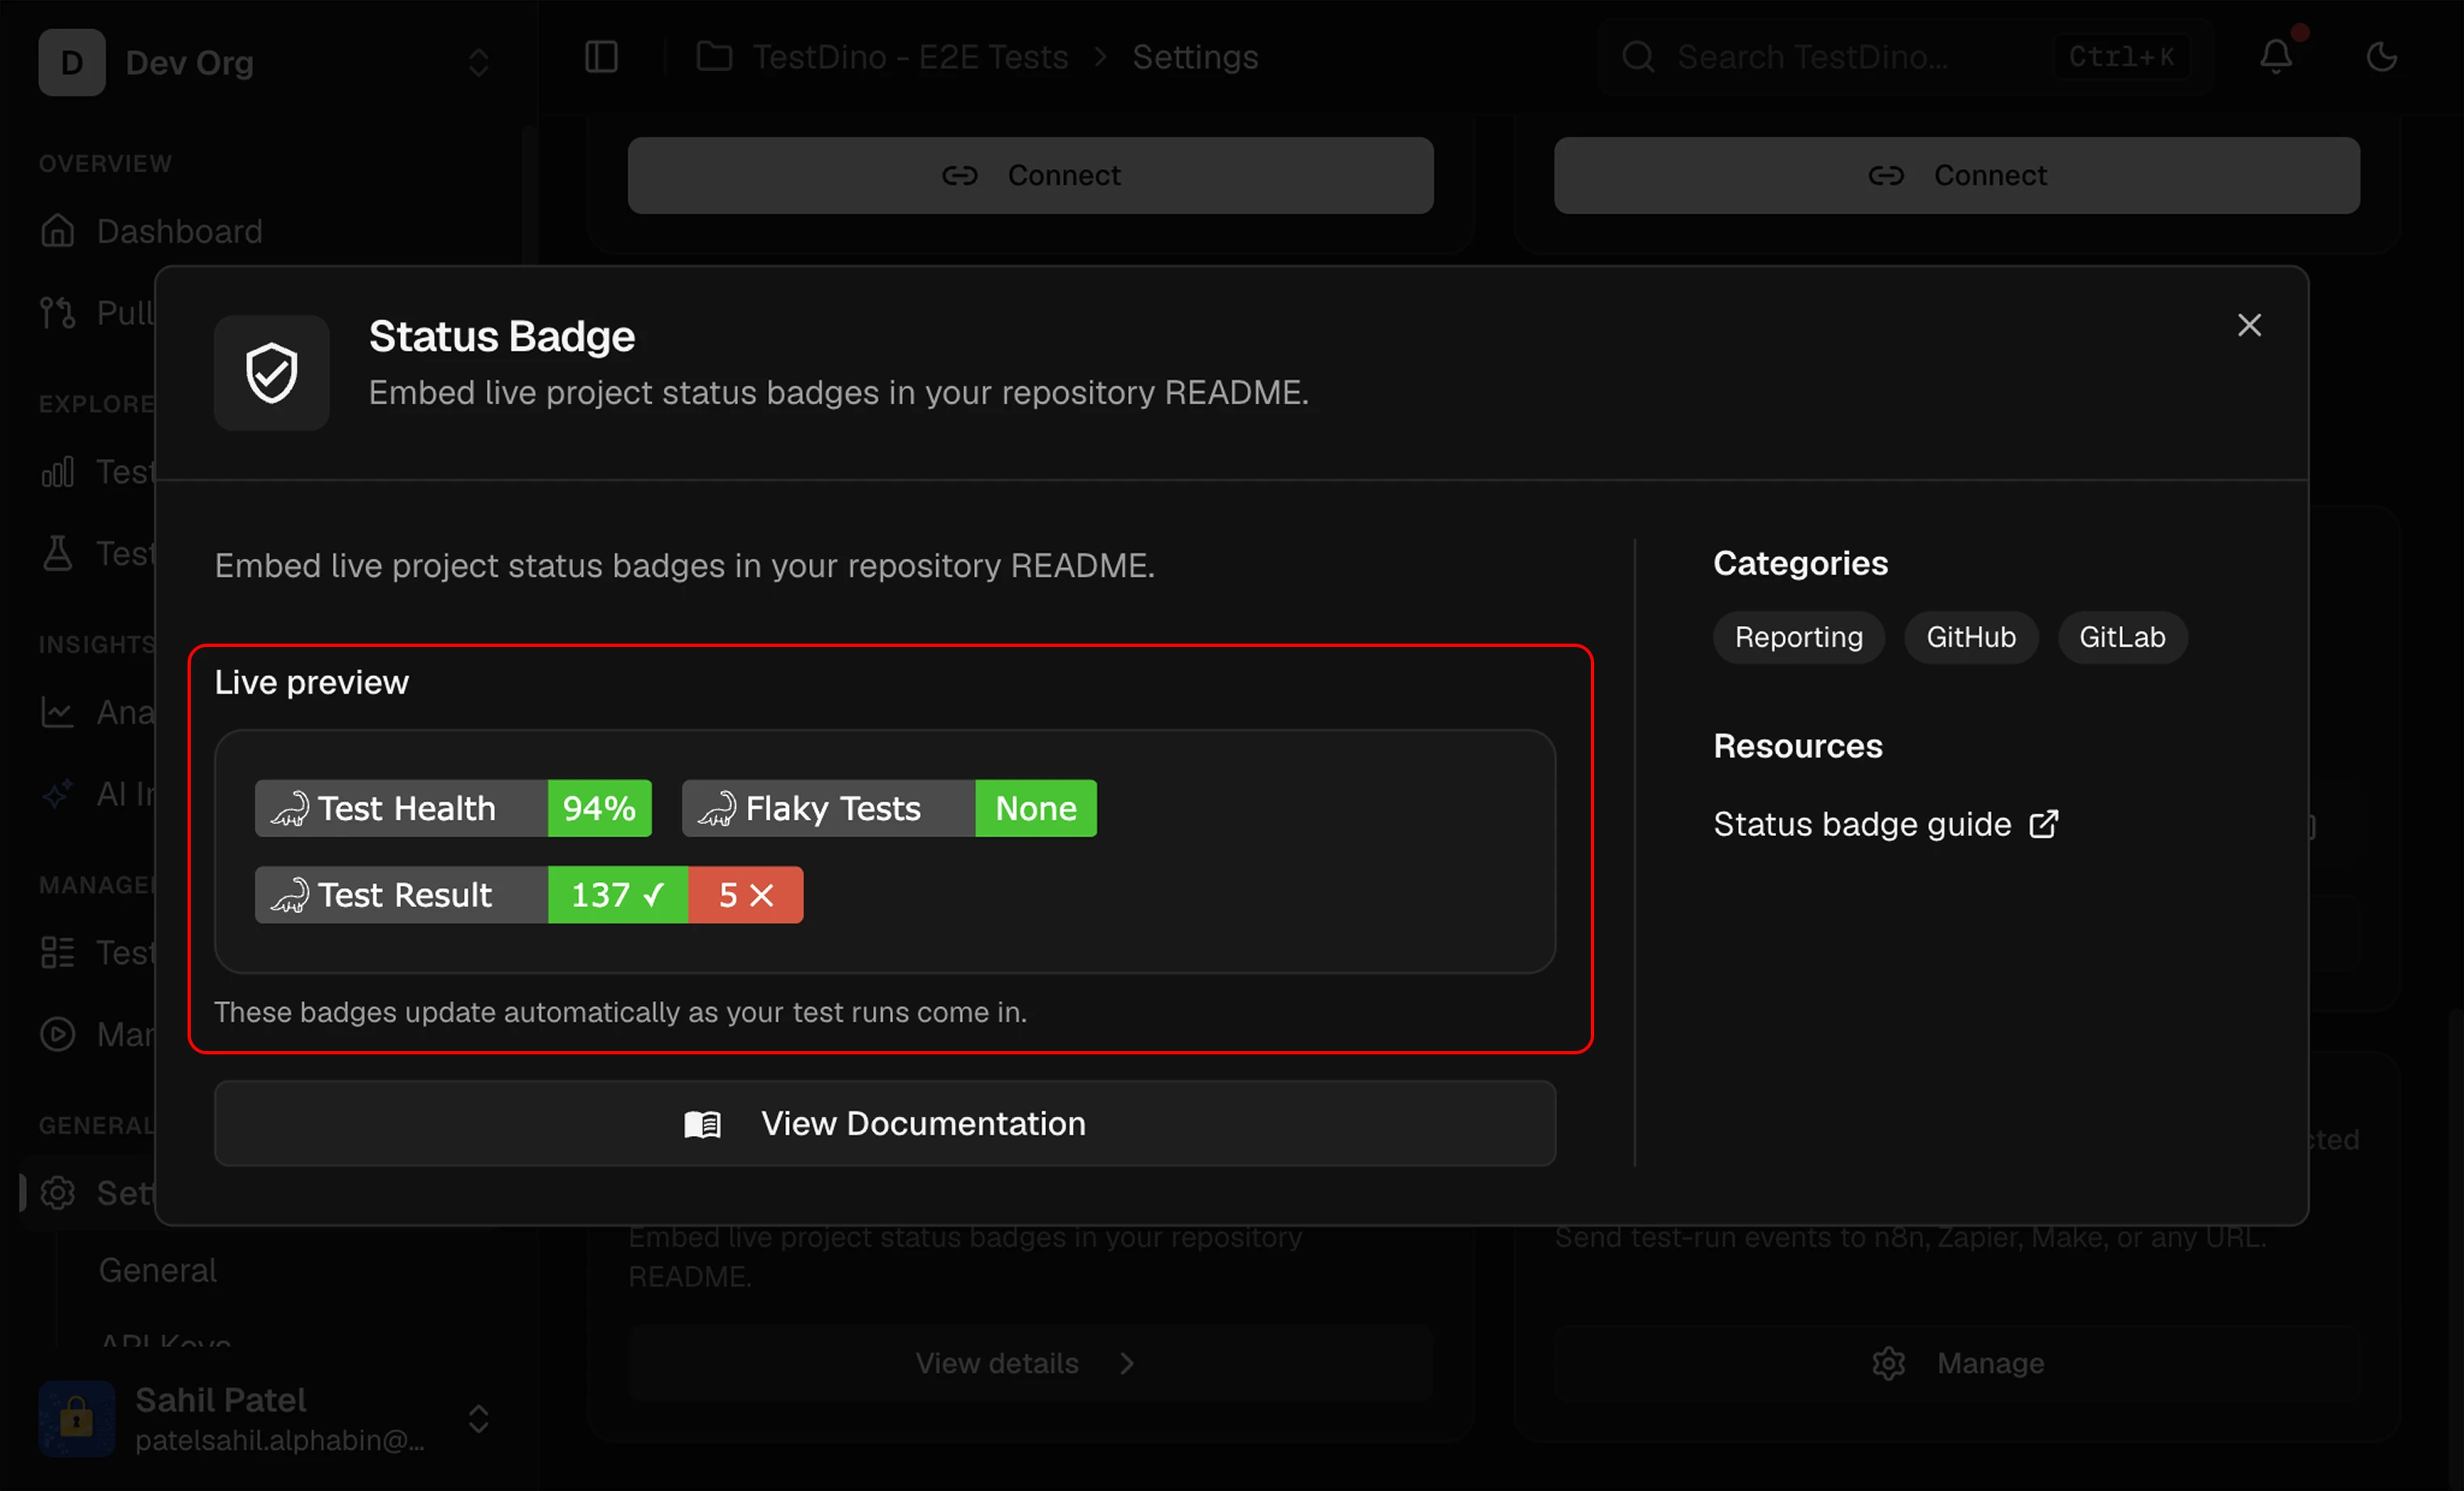
Badge Types
Color Scale
Test Health
Flaky
Prerequisites
- A TestDino project with at least one completed test run
- A GitHub or GitLab repository where you can edit the README
- Owner or Administrator role on the TestDino project
Get Badge URLs
1
Open Status Badges
Go to Project Settings → Integrations → Repository → Status Badge.The Preview section displays all 3 badges with live values from the latest run.
2
Select your platform
Switch between GitLab and GitHub tabs to get the correct snippet format.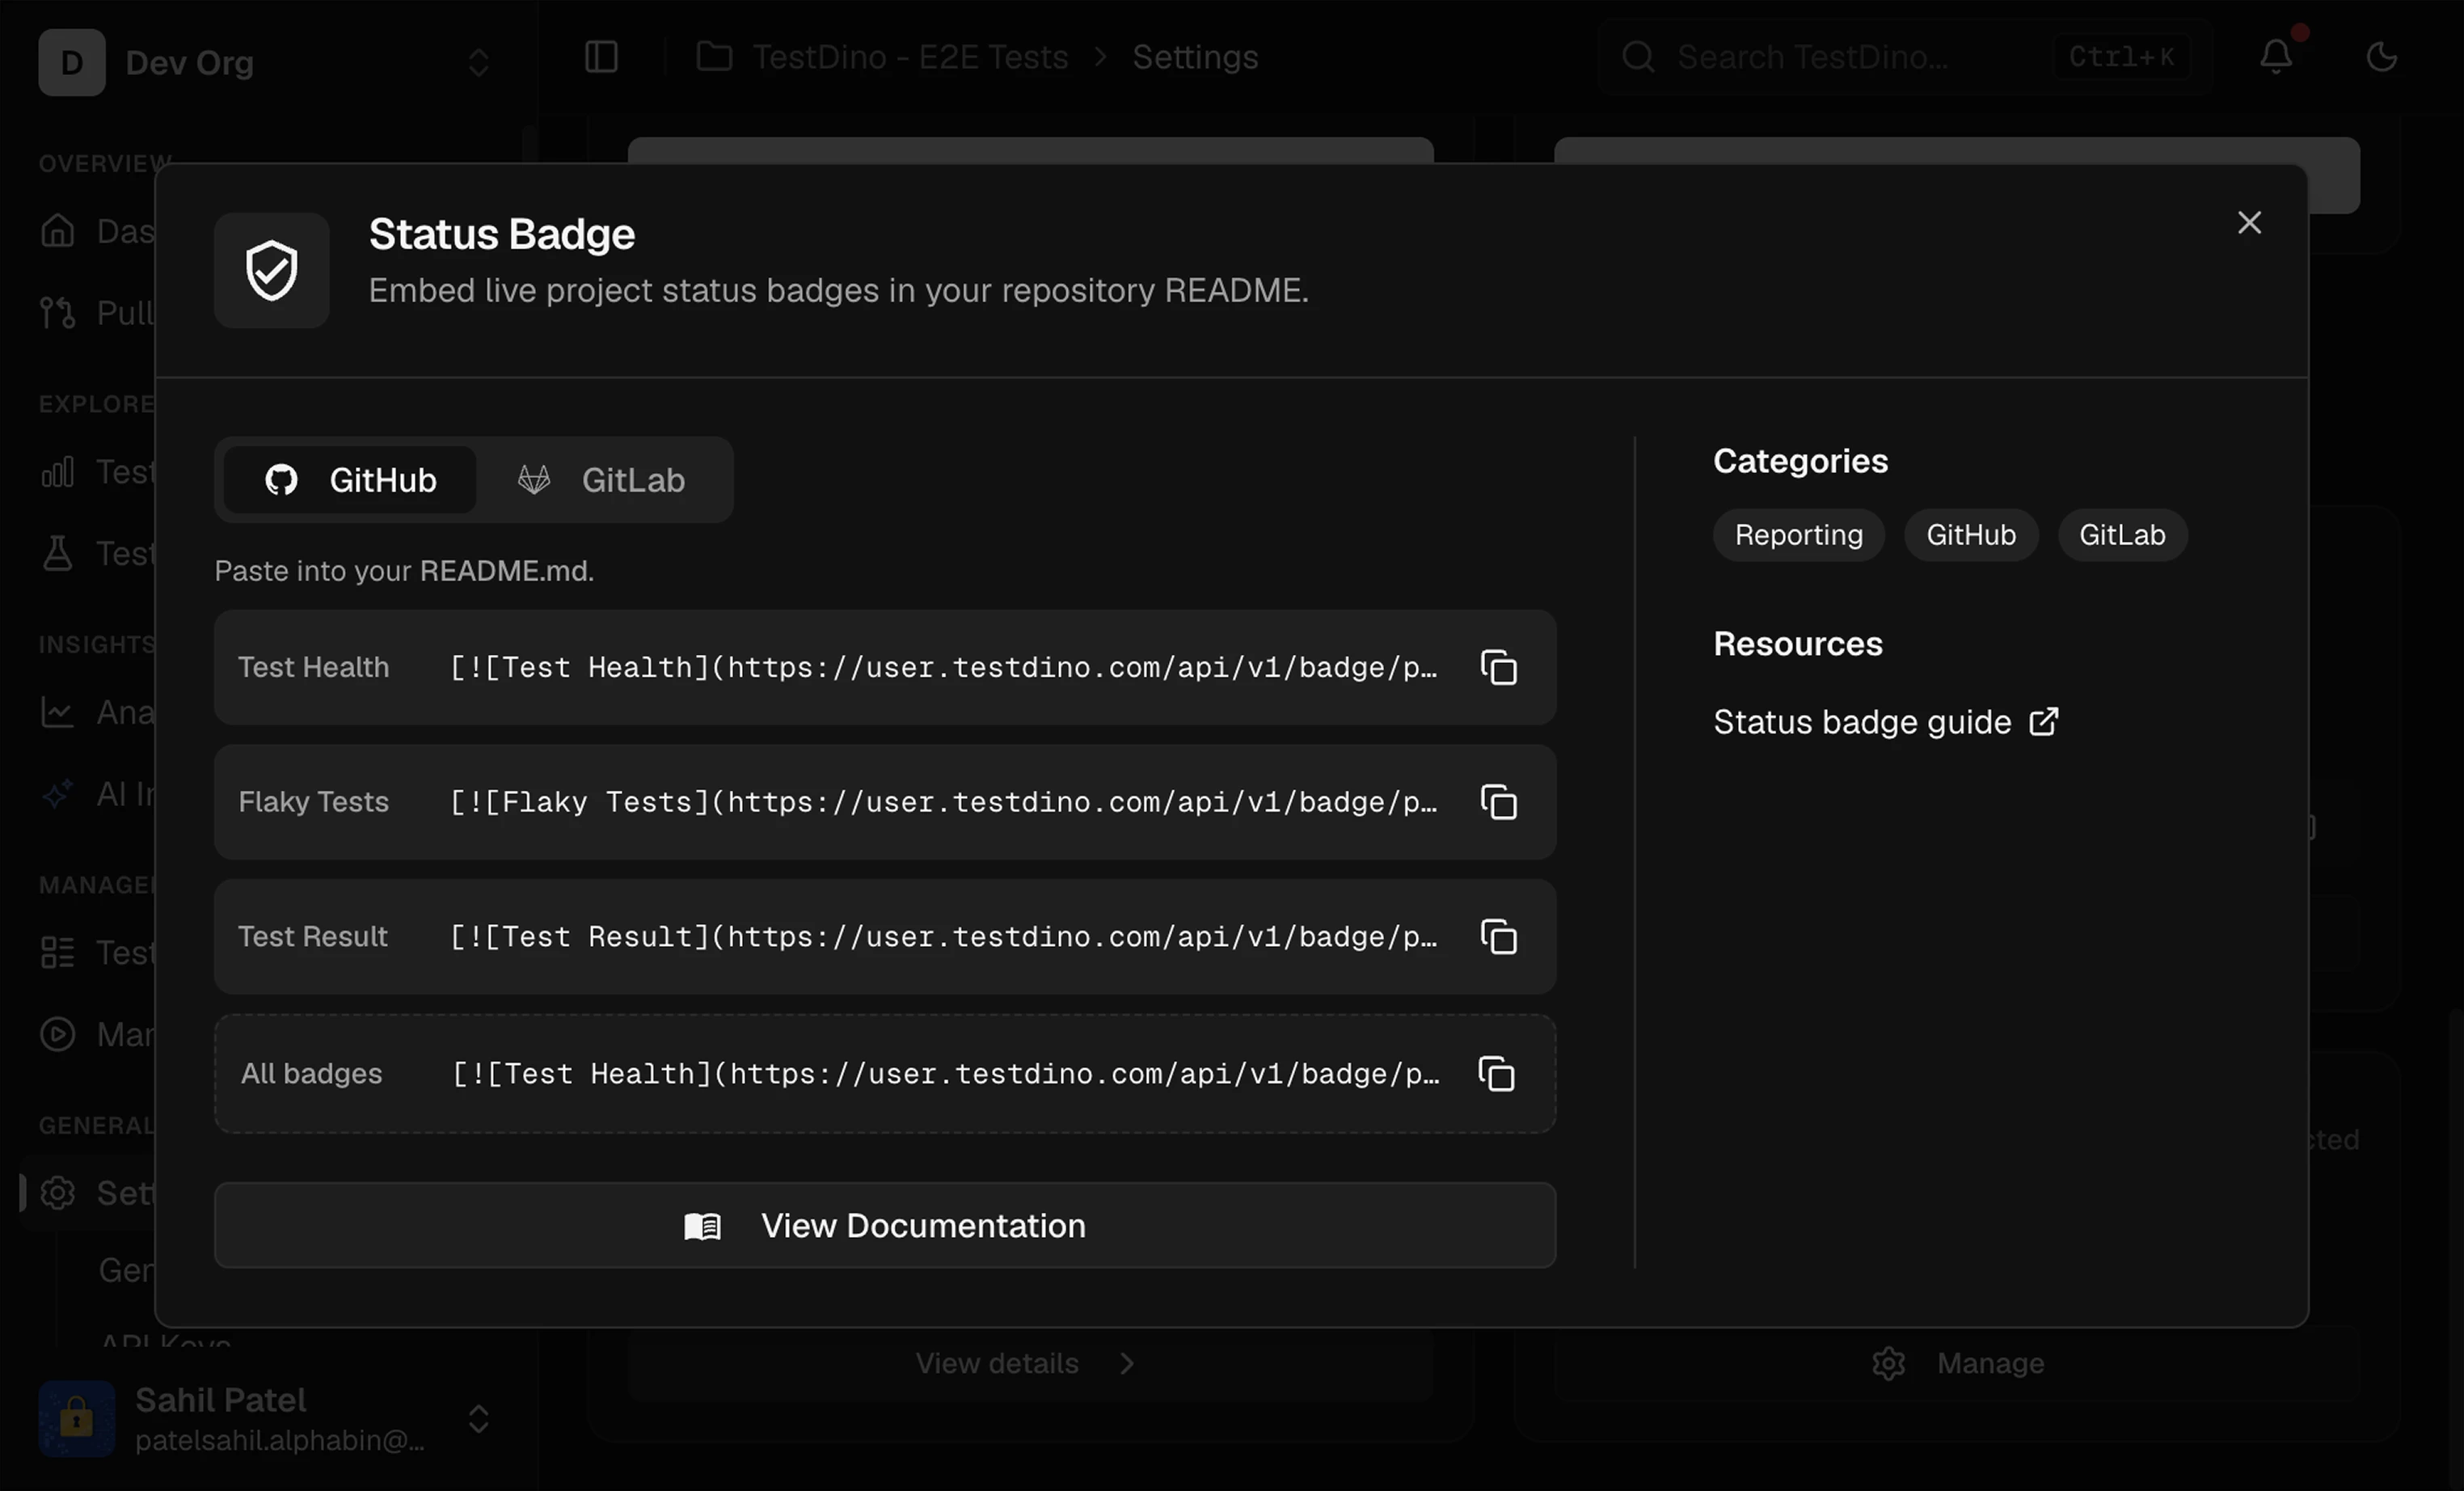
- GitHub
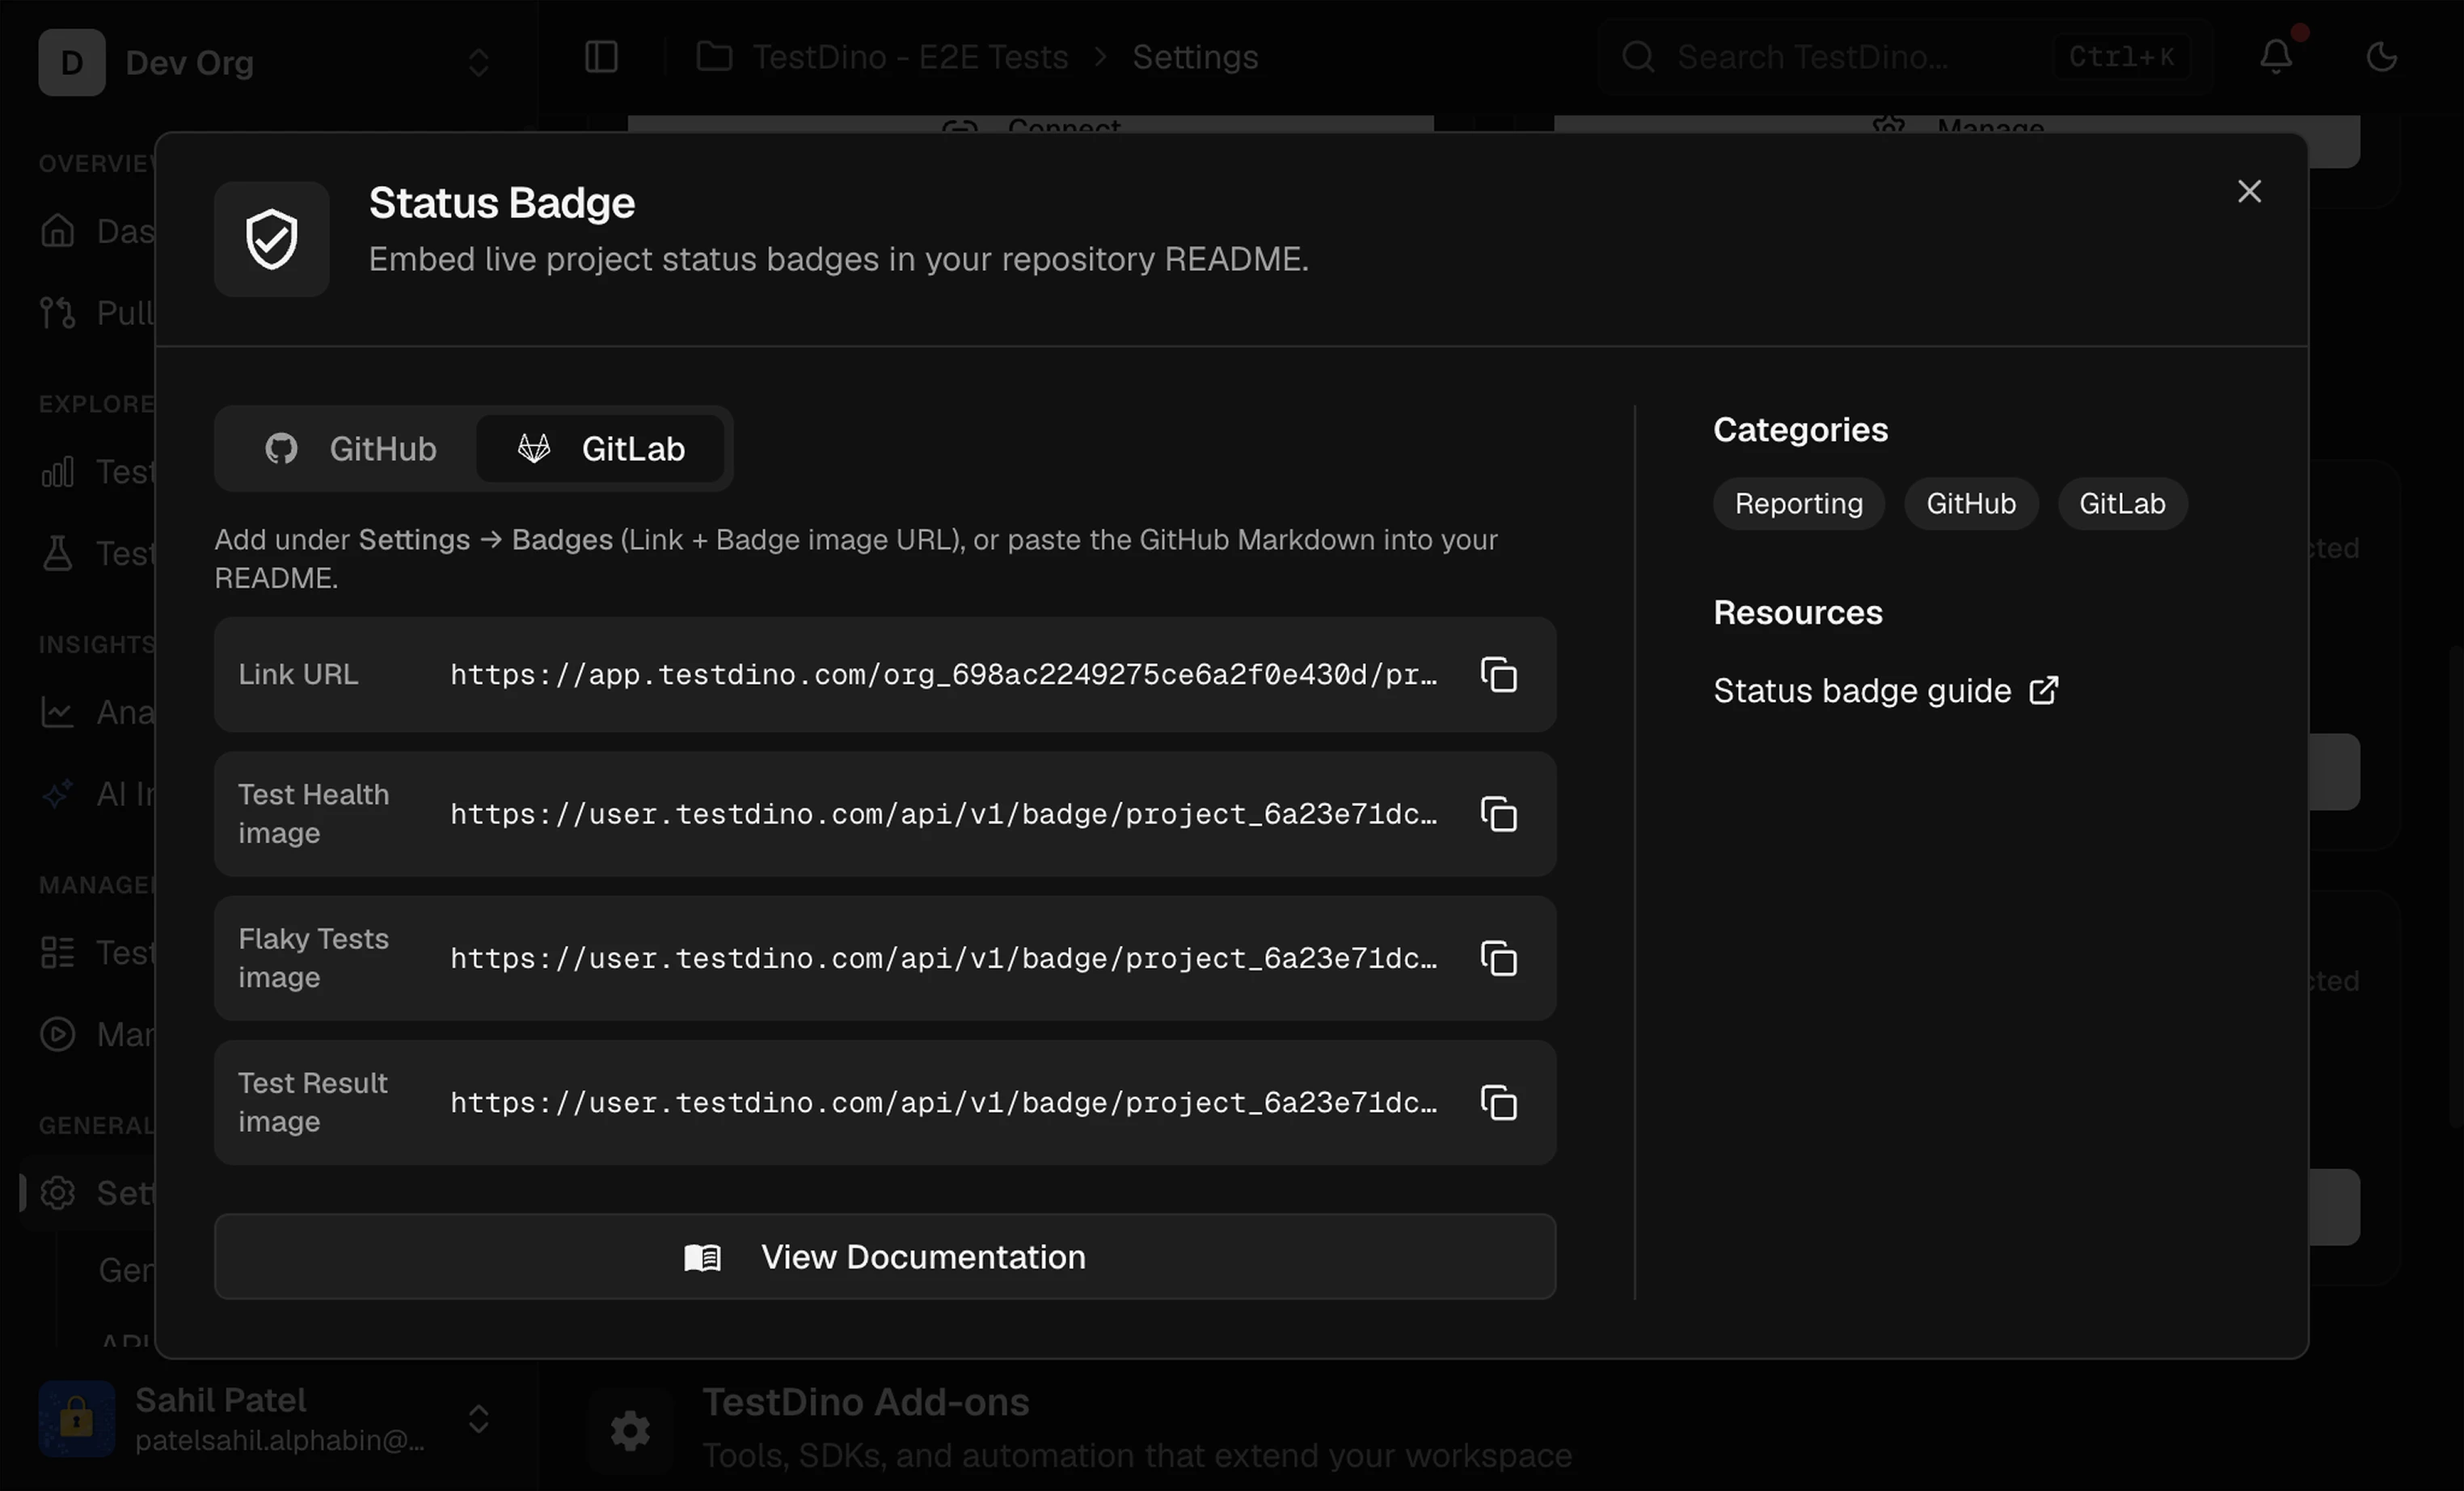
- GitLab
3
Choose snippet type
Select the format you need:
4
Copy and paste
Click the copy icon on any row. The icon changes to a checkmark for 2 seconds to confirm.
Add to GitHub
Copy the markdown snippets from the GitHub tab and paste them into your repositoryREADME.md.
The GitHub tab provides individual markdown rows for each badge and an All row that combines all 3 badges into a single line.
NoteReplace the example URLs above with the actual URLs from your Status Badges panel.
Add to GitLab
GitLab supports badges in 2 locations: the README and the project badge settings.README
Copy the markdown snippets from the GitLab tab and paste them into yourREADME.md. Each row provides the Link URL and Badge image URL separately.
Project Badge
1
Copy URLs
From the GitLab tab, copy the Link and Badge URL for each badge.
2
Open GitLab badge settings
Go to your GitLab repository Settings → General → Badges → Add badge.
3
Add the badge
Paste the Link value into “Link URL” and the Badge URL value into “Badge image URL”. Save.
Badge Updates
Badges reflect the latest completed test run. After a new run completes:Related
Project Settings
Configure project integrations and add-ons
GitHub Status Checks
Enforce quality gates on pull requests